Key Highlights
- A balcony safety grill installation usually involves a site visit, measurement, design selection, planning, preparation, installation and final inspection.
- The overall timeline depends on the balcony size, structure, design, material availability and installation access.
- Accurate measurements help determine wire spacing, fixing points and the amount of material required.
- Proper preparation of the balcony can help the installation team work safely and efficiently.
- The final inspection checks wire tension, alignment, spacing, fixing points and overall coverage.
- Understanding each stage can help homeowners plan the work and avoid unnecessary delays.
Understanding the Balcony Safety Grill Installation Process
A balcony grill can improve safety without making the space feel closed or heavy. However, the installation involves more than fixing wires or frames in place. The process usually starts with a site visit and ends with a detailed safety check.
Knowing the steps can help homeowners understand what to expect. It also makes it easier to plan the installation around other homework.
The timeline may vary based on the balcony size, building structure, grill type and installation requirements. A small residential balcony may need less preparation than a large or complex space. Proper measurement and planning can also help avoid delays during installation.
How Long Does Balcony Safety Grill Installation Take?
The actual installation may take only a few hours in many standard cases. However, the complete process can take longer because it includes site assessment, measurements, material selection, preparation, and final checks.
For a safety grill for balcony, the timeline generally depends on the following factors:
- Balcony size: Larger areas require more material and installation points.
- Number of sides: A balcony with multiple open sides may need more work than a simple front-facing space.
- Building structure: The surface and structure determine how the grill can be fixed securely.
- Design requirements: Custom dimensions, spacing and layout may add preparation time.
- Material availability: The required wires, fittings, and other components need to be ready before installation.
- Site conditions: Existing grills, furniture, construction work or difficult access can affect the schedule.
- Installation access: High-rise balconies may require additional planning for safe working conditions.
A typical installation journey can be understood in five broad stages:
| Stage | What happens |
|---|---|
| Site visit | The installer checks the balcony and takes measurements. |
| Product selection | Grill type, wire size, spacing and design are discussed. |
| Planning | Measurements and installation requirements are finalized. |
| Preparation | The area and required fixing points are prepared. |
| Installation | The grill is fitted, tensioned and checked. |
The site visit is an important starting point. It helps the installer understand the actual conditions instead of relying only on approximate measurements.
Once the measurements and requirements are confirmed, the installation plan becomes clearer. This can help reduce changes during the actual fitting process.
Step 1 – Site Visit and Balcony Measurement
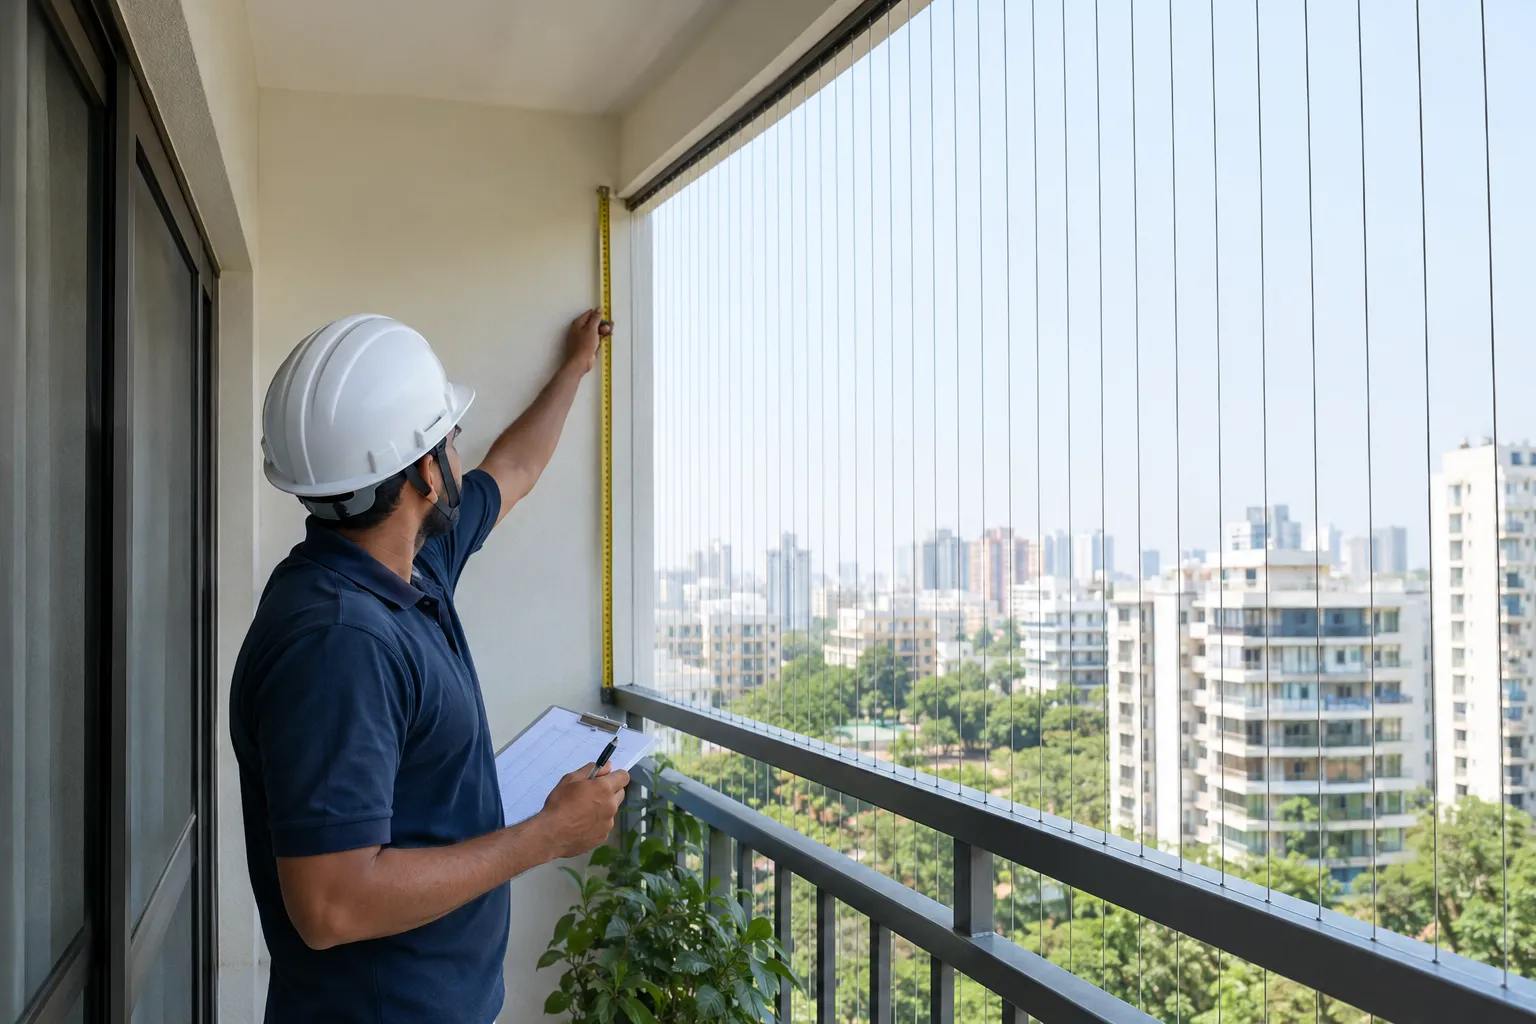
The first step is usually a physical inspection of the balcony. This gives the installer a better understanding of the space and the work involved.
A balcony may look straightforward from a distance, but small details can affect installation. The installer needs to check the available fixing surfaces, corners, edges, and other points where the grill will be secured.
What Is Checked During the Site Visit?
The site visit usually focuses on the physical condition of the installation area.
The installer may check:
- Balcony length and height
- Width and depth of the open area
- Wall and ceiling surfaces
- Existing railings or grills
- Available fixing points
- Corners and edges
- Obstructions near the installation area
- Access to the balcony
- Areas that may need special fittings
These checks help determine how the grill should be positioned. They also help identify possible installation issues before the work begins.
Accurate Measurement Matters
Measurements are not limited to the overall balcony size. The installer may need several individual measurements to determine the placement of each fixing point.
For example, a balcony with an uneven wall may require a different installation approach from one with straight and accessible surfaces. Similarly, existing railings can affect where the grill can be fitted.
Accurate measurements can help with:
- Calculating the amount of material required
- Deciding the number of fixing points
- Maintaining consistent spacing
- Planning the installation layout
- Avoiding unnecessary material changes
- Preparing the correct fittings before installation
This stage is especially important for a safety grill for balcony because the installation needs to suit the actual structure.
Why a Physical Inspection Is Useful
Online measurements or rough estimates may not show every condition at the site. A physical inspection allows the installer to identify practical issues before materials are prepared.
For instance, the balcony may have a projection, drainage pipe, existing railing or other feature that affects the installation. These details may not be obvious from basic dimensions.
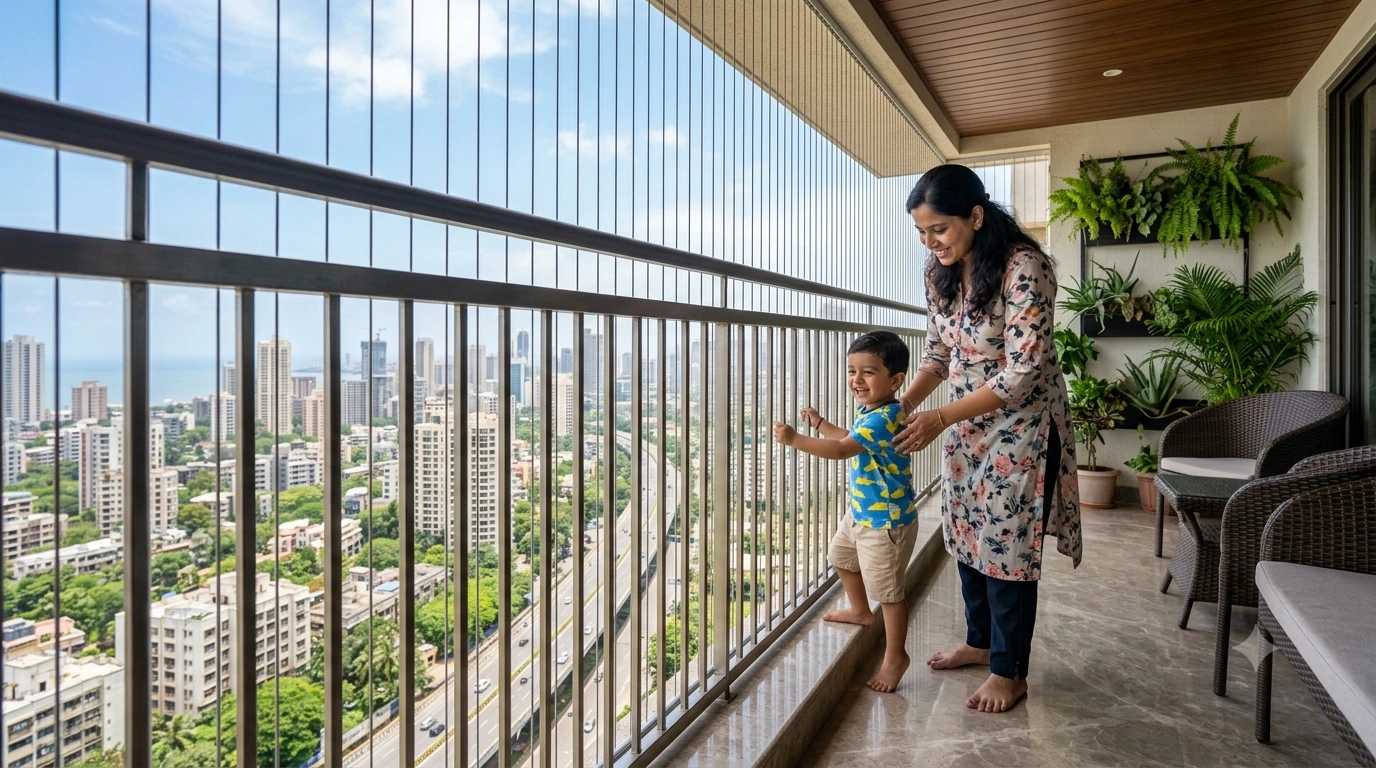
The installer can also discuss the homeowner’s safety requirements during the visit. A family with young children may have different concerns from someone looking to secure a balcony for pets.
Once the site measurements and requirements are clear, the next stage is choosing the suitable grill design and specifications.
Step 2 – Choosing the Right Grill Design and Specifications
Once the site measurements are complete, the next step is to decide how the grill should be designed and installed. This is where practical safety needs, balcony size and the desired appearance come together.
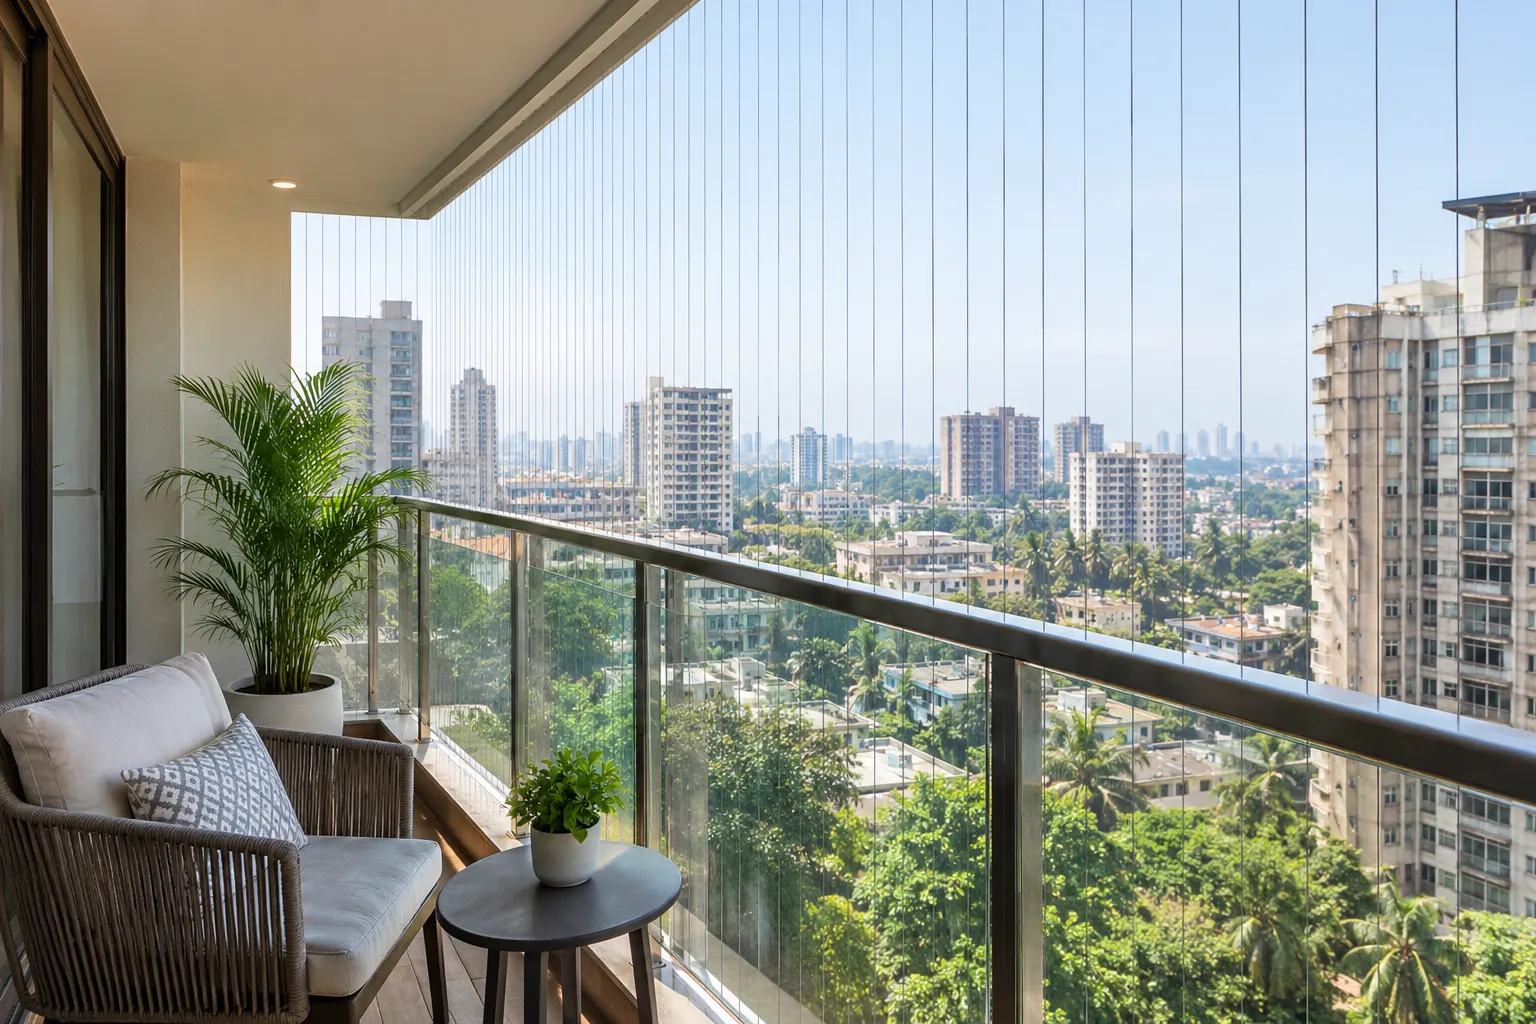
An invisible grill is often chosen when homeowners want a safety barrier without blocking the view. The thin wires create a less bulky appearance than many traditional grill designs. However, the right specifications still need to be selected for the space.
What Specifications Should Be Considered?
Several details can affect the final installation. These should be discussed before the material is prepared.
Wire thickness: The required wire thickness can depend on the application and installation design. SS 316 wire is commonly used for invisible grill applications because of its strength and resistance to corrosion.
Wire spacing: The gap between individual wires needs careful consideration. The spacing should suit the intended safety requirement while maintaining the desired appearance.
Installation height: The height of the grill depends on the balcony structure and the area that needs protection.
Fixing system: The installer needs to determine how the wires will be anchored to the available surfaces. The fixing method should suit the structure.
Finish and appearance: Homeowners may also discuss the finish of the fittings and how visible the installation should be.
These decisions should be made based on the actual site rather than selecting specifications only on appearance.
Why Wire Spacing Matters
Wire spacing is one of the details that homeowners should not overlook. A grill with wider gaps may look less noticeable, but the spacing also needs to meet the intended safety purpose.
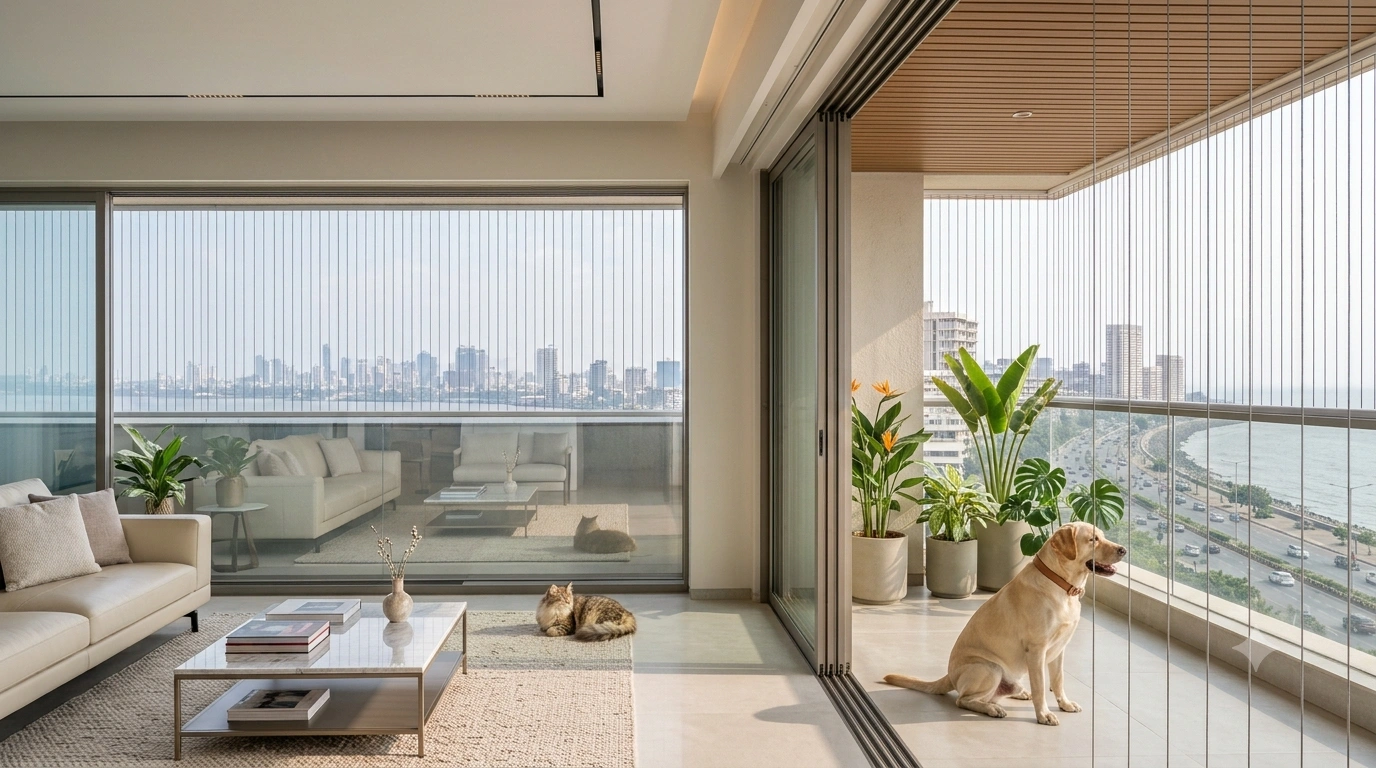
For homes with children or pets, the installation should be planned with their safety in mind. The installer can recommend suitable spacing based on the application and the overall balcony design.
The goal is to create a barrier that provides protection without unnecessarily changing the look of the balcony.
Matching the Grill with the Balcony
Not every balcony has the same structure. Some have solid walls on three sides, while others have open sections around the front and sides. Some may also have existing railings.
The grill design should work with these conditions.
For example:
- A compact balcony may need a simple straight-line layout.
- A corner balcony may require wires to be fixed across more than one side.
- A balcony with an existing railing may need the installation to work around the railing.
- A larger opening may require additional fixing points.
- A space with unusual corners may need customised measurements.
This is why the earlier site inspection is important. It gives the installer the information needed to plan a suitable safety grill for balcony installation.
Safety Should Come Before Appearance
Invisible grills are selected partly because they have a discreet appearance. However, the focus should remain on safe and secure installation.
A neat appearance should not come at the cost of proper fixing or suitable spacing. The wires need to be installed with the right tension, and the fixing points need to be secure.
Homeowners should also ask about the material being used. For outdoor balcony applications, corrosion resistance is an important consideration because the grill may be exposed to rain, humidity and changing weather conditions.
Once the specifications are agreed upon, the installation can move to the planning stage. This is when the measurements, material requirements and estimated work are brought together before the actual fitting begins.
Step 3 – Finalising the Installation Plan and Quote
After the site inspection and product discussion, the installer can prepare the installation plan. This stage connects the homeowner’s requirements with the practical details recorded during the site visit.
A clear plan helps both sides understand what will be installed and how the work will be carried out.
What Is Usually Finalised?
Before installation begins, the following details should be clear:
- Total installation area
- Grill height and coverage
- Wire thickness
- Wire spacing
- Type of fittings
- Number and location of fixing points
- Required material quantity
- Installation method
- Expected installation schedule
- Final cost
The quote should reflect the actual work required at the site. If the balcony has unusual dimensions or requires additional fittings, these details should be discussed before the work starts.
Why Planning Helps Avoid Delays
Good planning can reduce last-minute changes. Once the dimensions and specifications are confirmed, the installer can arrange the required material and fittings.
This is particularly useful when the installation involves multiple balcony sections or customised measurements.
The homeowner can also use this stage to clarify practical questions, such as:
- How long will the installation take?
- When will the team arrive?
- Does the balcony need to be cleared?
- Are existing grills or fixtures affected?
- What access will the installation team need?
- What checks will be carried out after installation?
Having these points clear beforehand makes the process easier to manage.
Check the Installation Area Before Work Begins
The balcony should also be checked for anything that could interfere with the work. Furniture, plants, decorative items and movable fixtures may need to be shifted temporarily.
If there is ongoing painting, waterproofing or other repair work, the installation schedule may need to be adjusted. Completing such work beforehand can help protect the newly installed grill from unnecessary disturbance.
The installation team can then work with a clear area and follow the planned layout.
Once the design, measurements, materials and cost are confirmed, the project is ready for the preparation stage. The next step is to make sure the balcony is suitable for the installation work and that the required fixing points can be accessed safely.
Step 4 – Preparing the Balcony for Safety Grill Installation
Once the installation plan is approved, the balcony needs to be prepared for the actual work. This stage is often simple, but it should not be skipped. A clean and accessible work area allows the installation team to work more safely and accurately.
Preparation may differ from one balcony to another. A newly constructed balcony may need very little preparation. An occupied balcony may require furniture, plants or other items to be moved before work starts.
Clear the Installation Area
The first task is to make enough space for the installation team.
Homeowners may need to move:
- Chairs and tables
- Flowerpots
- Clothes-drying stands
- Decorative items
- Outdoor storage boxes
- Other movable objects
Items that cannot be moved should be discussed with the installation team beforehand. This allows the team to plan around them without affecting the installation layout.
Keeping the floor and working surfaces clear also makes it easier to identify the planned fixing points.
Check the Fixing Surfaces
The surfaces where the grill will be attached should be checked before drilling or fixing begins.
The installer may look for signs of:
- Cracks
- Loose plaster
- Damaged surfaces
- Weak fixing areas
- Previous drilling
- Water damage
If a fixing point is not suitable, the installer may need to adjust the position or use an appropriate installation method.
This is important because the strength of a grill depends not only on the wire but also on the way it is secured to the structure.
Consider Existing Fixtures
Many balconies already have railings, sliding windows, air-conditioner units, pipes or other fittings. These should be considered before installation starts.
The grill should not interfere with the normal use of these fixtures. For example, a window should continue to open and close as intended after the installation.
The installer may adjust the layout to maintain access while still providing the required coverage.
Keep Safety in Mind During Preparation
Balcony installation involves working close to an open edge. The installation team should therefore follow suitable safety practices while carrying out the work.
Homeowners should also keep children and pets away from the work area until the installation is complete.
Once the balcony is ready and the fixing points have been confirmed, the actual installation can begin.
Step 5 – Installing a Safety Grill for Balcony Spaces
The installation stage turns the approved measurements and design into the finished grill. Although the process can appear simple from the outside, each fixing point and wire needs to be positioned carefully.
The exact method can vary depending on the balcony structure and the selected system.
Marking the Installation Points
The first step is generally to mark where the fittings will be placed.
These points are based on the measurements taken during the site visit. Correct positioning helps maintain consistent spacing across the installation.
The installer needs to account for corners, edges and changes in the balcony structure. A small difference at one end can affect the alignment of the wires across the entire section.
Fixing the Required Fittings
Once the positions are confirmed, the required fittings are secured to the prepared surfaces.
The fittings act as the connection points for the grill wires. Their placement needs to be firm and aligned with the planned layout.
The installation team may use suitable tools to create the required fixing points and secure the fittings in place.
The process should be carried out carefully to avoid unnecessary damage to the balcony surface.
Installing and Tensioning the Wires
After the fittings are ready, the stainless-steel wires are installed according to the planned spacing.
The wires need to be tensioned correctly. If they are too loose, the finished installation may not provide the expected level of stability. If they are handled incorrectly during installation, the appearance may also become uneven.
A properly installed grill should have consistent alignment across the covered area.
The installer checks the wires as the work progresses rather than waiting until the end. This helps identify any spacing or alignment issue early.
Working Around Corners and Openings
Balconies are rarely perfect rectangles. There may be corners, beams, columns, windows or other features that need to be considered.
The installation may therefore require adjustments around these areas.
For example, wires may need to follow the shape of a corner rather than continuing in a straight line. Window sections may also require a separate arrangement so that the window remains functional.
The aim is to provide suitable coverage while keeping the installation neat and practical.
Why Professional Installation Matters
A safety grill for balcony is only as useful as its installation. Correct measurements, suitable fittings, proper wire tension and secure fixing all contribute to the finished result.
Professional installation can also help ensure that the grill suits the actual structure instead of following a one-size-fits-all approach.
Once all the wires and fittings are installed, the work is not immediately considered complete. The final stage is an inspection to check the installation and address any visible issue before the area is handed back to the homeowner.
Final Inspection, Safety Checks and Installation Completion
The final inspection is the last part of the installation timeline. It provides an opportunity to check whether the finished grill matches the agreed layout and whether the installation points are secure.
The team can inspect the grill section by section instead of relying only on a quick visual check.
What Is Checked?
The final inspection may include:
- Condition of the fixing points
- Wire alignment
- Wire tension
- Spacing between wires
- Coverage of the intended area
- Stability of the fittings
- Corners and edges
- Clearance around windows and fixtures
- Overall appearance
Any loose fitting, uneven wire or other installation issue should be addressed before the work is treated as complete.
Check the Balcony from Different Angles
A simple visual check from inside the room may not show every detail. The installation can also be viewed from different points of the balcony to check alignment and coverage.
Windows and doors should be operated where applicable to ensure that the new installation does not interfere with their normal use.
The balcony should also be left clean and free from installation debris.
What Happens After Completion?
Once the checks are complete, the homeowner can review the finished installation with the team.
It is useful to understand basic maintenance requirements at this stage. Invisible grills generally need routine cleaning to remove dust and surface dirt. The fittings and wires can also be visually checked from time to time for any unusual change.
If any issue is noticed later, it should not be ignored. The installer or service provider can assess the problem and advise on the appropriate repair or maintenance.
A Planned Process Makes Installation Easier
Installing a balcony grill does not begin when the first wire is fixed. It starts with understanding the site, measuring the space and selecting suitable specifications.
Each stage supports the next:
Site visit → Measurement → Design selection → Planning → Preparation → Installation → Final inspection
Following this sequence can help make the process more organised and reduce avoidable changes.
For homeowners considering a safety grill for balcony, understanding the installation timeline can also make it easier to prepare the space, plan the work and ask the right questions before installation.
At Chirag Nettings, we help homeowners understand their balcony safety requirements and plan the installation around the actual site conditions. We focus on suitable materials, accurate measurements and proper installation rather than treating every balcony in the same way.
If you are planning to install an invisible balcony grill, get in touch with Chirag Nettings to discuss your requirements and schedule a site assessment.